Products Reviews

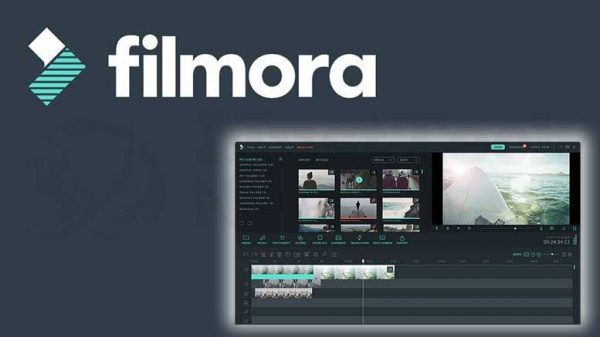
Wondershare Filmora Review: All Details and Alternatives (2020)
It’s not a surprise why many people look for dedicated video editing software. As we already know, video marketing is booming and video contents impact our lives. However, no one is naturally good at creating a perfect video in one go. And, even if you can make it, it’s always better to add some effects, sounds, and filters to videos, isn’t it? This is where Wondershare Filmora comes in clutch.
Today in this article we will give a full and objective Wondershare Filmora Review to find out whether the video editing software is definitely worth your try.
What is Wondershare Filmora?
Wondershare Filmora is an elegant video editing software that is available for both Mac and Windows. This tool comes from Wondershare, an excellent developer behind so many popular apps like Dr.fone, Recoverit, and PDFelement. It should be noted that Wondershare Filmora is not only the best video editing software, but also a professional slideshow maker.
Product details:
| Price | Free and Paid |
| Developer | Wondershare |
| Platform | Desktop: Mac and Windows
Mobile: iOS and Android |
| Customer types | Small business, Large enterprises, Medium business |
| Advantages |
|
| Disadvantages |
|
Wondershare Filmora Review: Pro Features
Nowadays, the internet is full of different video editing software claiming to give you great performance. Before you choose the right one you may consider many things like price, functions, interface etc. Luckily, Wondershare Filmora has all the features you may like.
Now let’s have a closer look at Wondershare Filmora’s features.
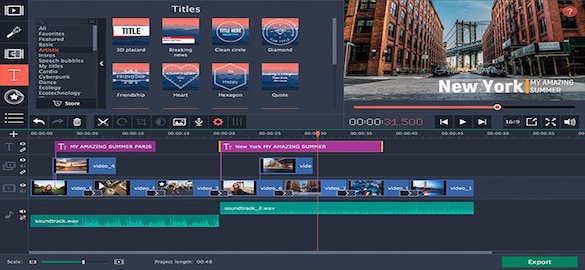
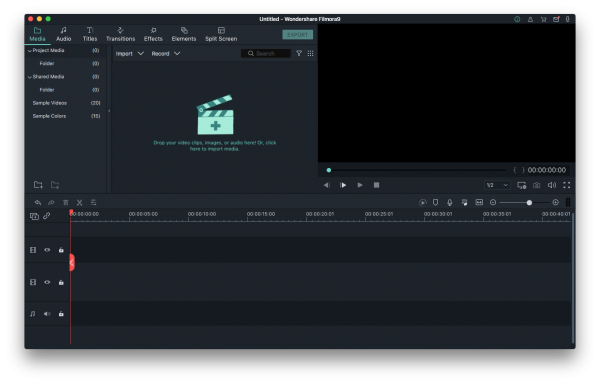
User-friendly Interface
If it’s the first time you get started with this software, you must be fall in love with its simple interface. With all tools and functions such as text, transitions, filters and export available on the main interface, you can easily edit your video without any additional complicated settings, though it’s not so friendly for touch-screen.
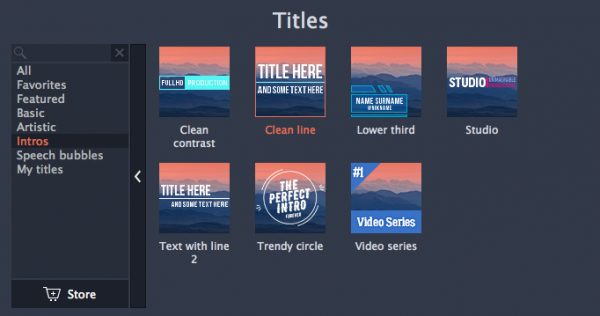
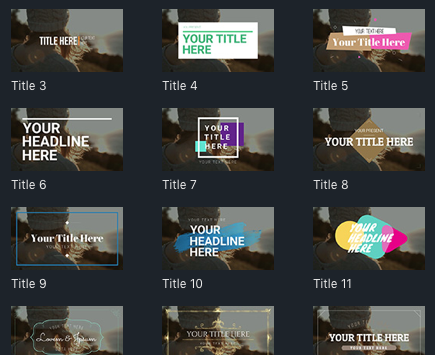
Text and Titles
You can edit the color, font and size of text, type vertically when adding text and titles to your videos. Furthermore, it allows you to use titles, openers, subtitles, end credits. Each is editable right in the preview window.
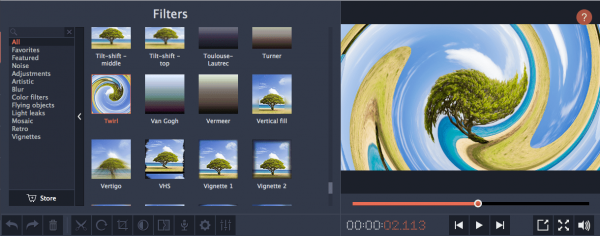
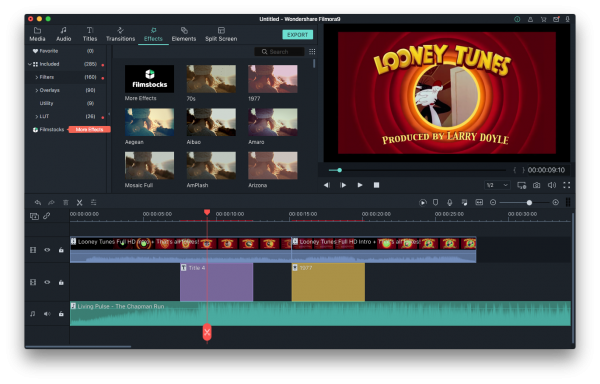
Filters and Overlays
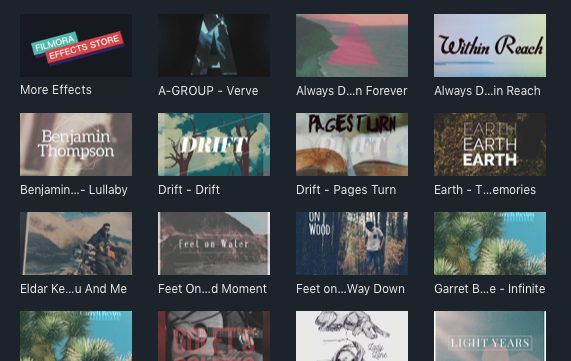
Filmora allows you to add as many as different filters or overlays as you like to make your video more interesting and attractive. Just click Effects on the top menu and then select the filters or overlays that you want to add to your project. Note that all filters and overlays are sorted by subject category, so you can easily find it.

Music and Audio
Wondershare Filmora offers a one-stop service for music and sound effects. It has a music library for free. They’re organized into categories like Young & Bright, Tender & Sentimental, Rock, Folk, Electronic. You can choose some good ones from the options and also can add music files from your own music library.
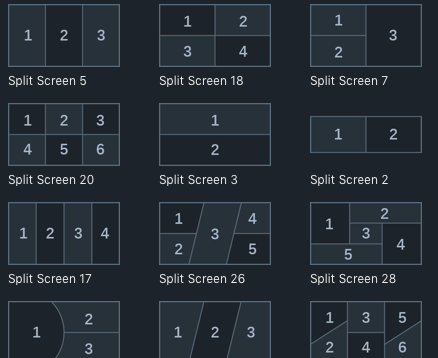
Split Screen
Split screen is becoming a popular technique in video creations. In the latest version of Filmora, it has the Split Screen Effect, making two or more videos displaying on one screen. This tool is useful when you want to show different angled video at once, compare two clips or images, or combine two or more videos into one.
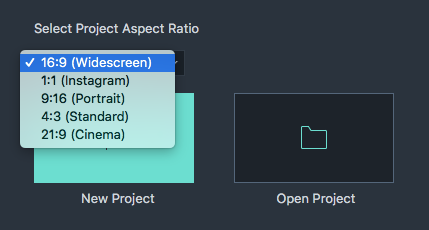
Aspect Ratio
This is the new function added in the latest version. When you open Filmora, you are allowed to choose the Project Aspect ratio in the start interface, you can choose from 16:9 (widescreen), 4:3 (standard), 1:1 (Instagram), 9:16 (portrait). 1:1 and 9:16 are most popular on social media sharing nowadays.
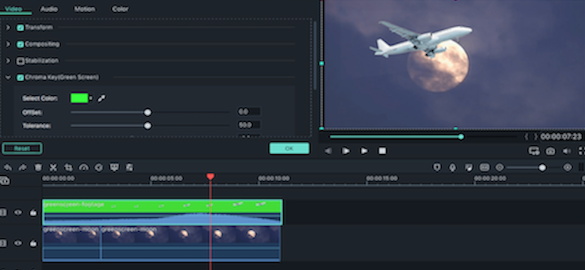
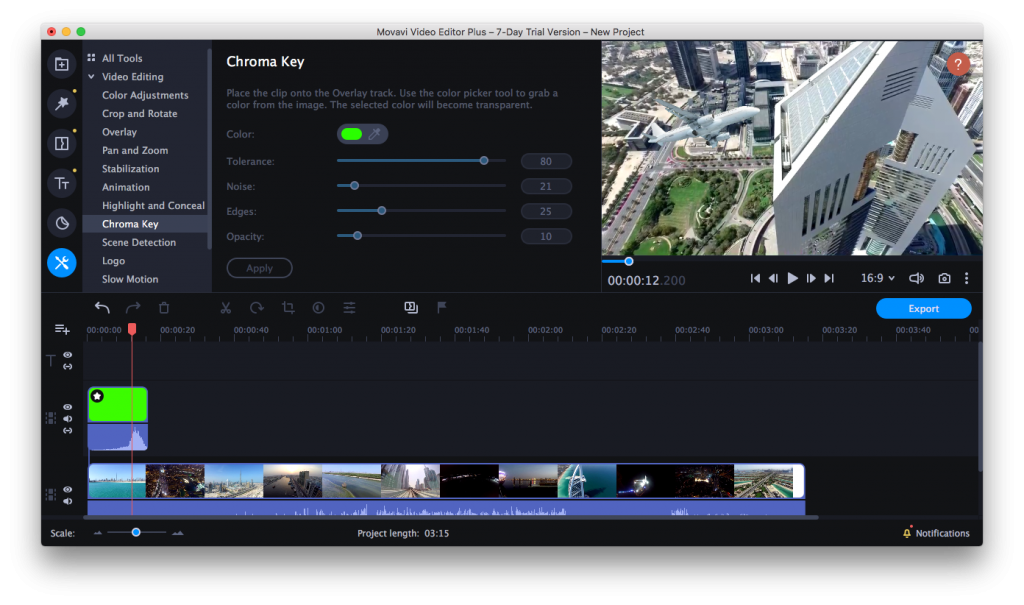
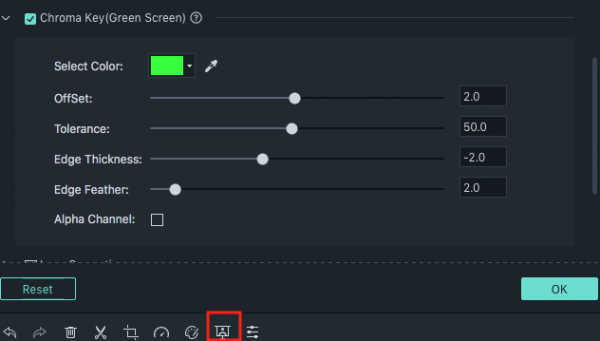
Green Screen Effect
Make a green screen will make your creation looks like more professional. Fortunately, Filmora gives you the chance to make a green screen to your video. What’ more, the green screen effect can not only change color as green or blue but any color you like to create.
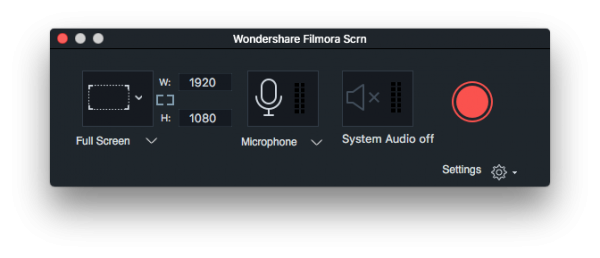
Built-in Screen Record
Wondershare Filmora provides just what users want to make their videos with a screen recording option, which is not common in some other similar video editing software. Otherwise, if you use Wondershare Filmora, it can save your cost on a screen recorder as you can use Filmora’s built-in screen record.
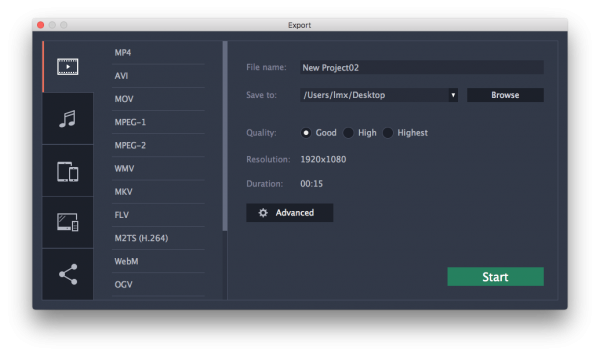
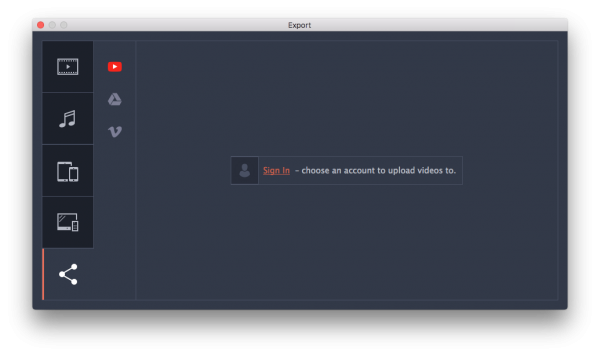
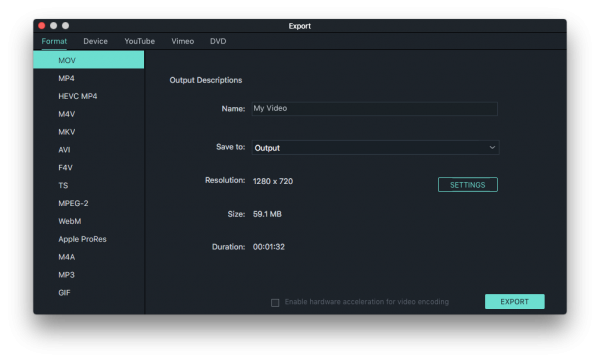
Export and Share
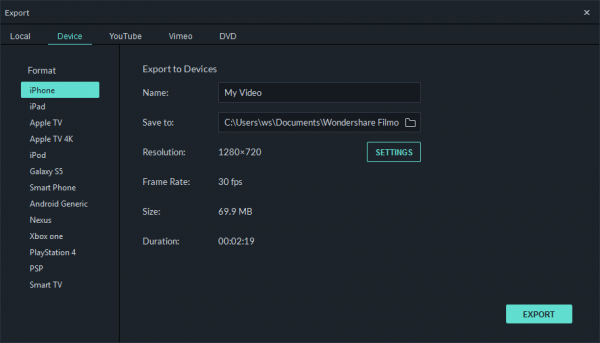
This tool has many output options including MP4, MKV, MP3, MOV, WMV and GIF etc. When exporting your video, you can select the quality settings: Best, Better and Good. Besides, you can share your video to social platform like YouTube, Vimeo, Facebook or burn to DVD.
A Full Guide on How Wondershare Filmora Works?
In the following step-by-step process, we will give you a full guide on how to edit a video with Wondershare Filmora. If you have downloaded the latest version of the software on Mac or Windows, just open it and follow the tutorial below. If you haven’t, you can get it by hitting the download button.
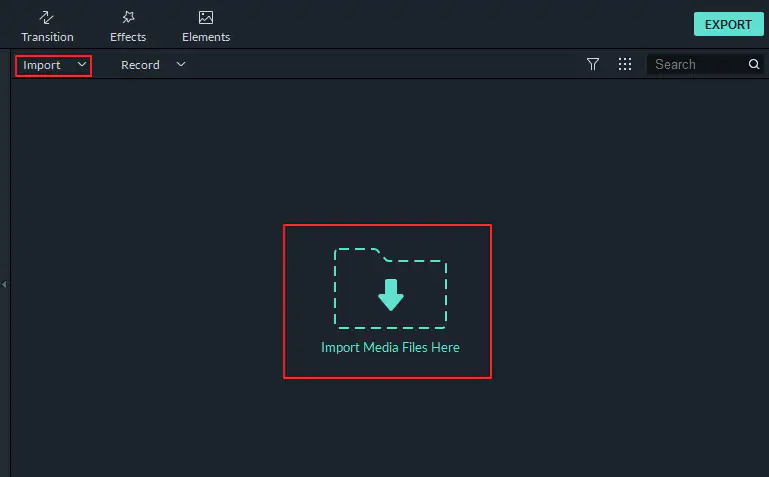
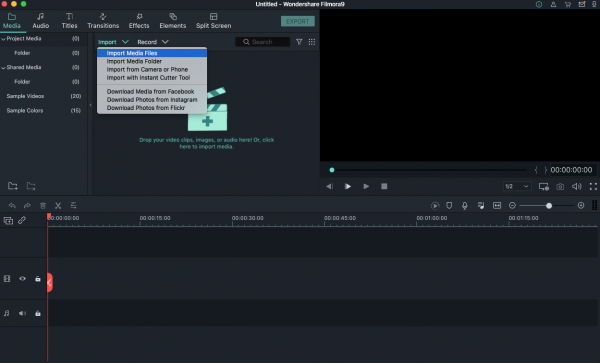
1. After you open it, select the Project Aspect Ratio as you like. Then click New Project. 2. Upload video by clicking the Import icon or just drop video to the library.
3. Then comes to Editing. You can do some basic editing and then apply filters or overlays to it, or add some background music, open titles, end-credits or subtitles to your video according to your requirements.
4. After making sure that there is nothing more to be edited, click on the Export button. And then choose the output format or share to YouTube and others.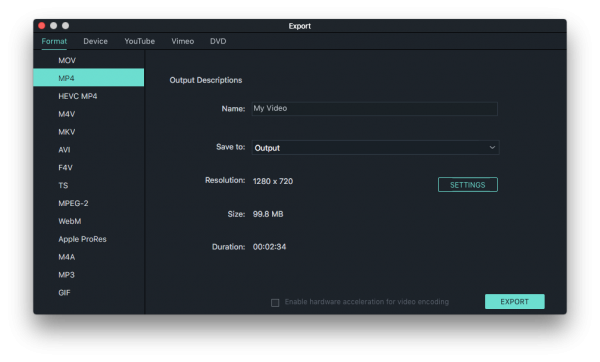
Wondershare Filmora FAQs
1. Is Wonderhsare Filmora a virus?
Absolutely not. Before downloading any software, the first thing you need to be sure of is if it is safe to download. You do not have to worry about this when it comes to Wondershare Filmora. It is a safe to download, in my test.
2. How much does Wondershare Filmora cost?
It has different pricing plan for individuals, businesses, and education. The details are outlined below to help you choose which plan is best meet your needs.
Filmora Pricing Plans
| Plan | Price | Service |
|---|---|---|
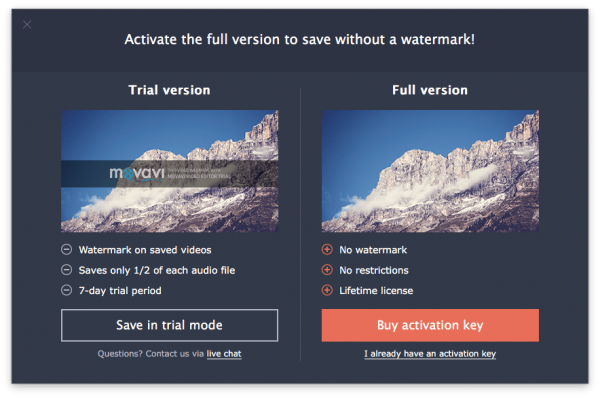
| Free Trial | Free | Watermark, No tech support |
| Individual Annual Plan | $44.99/year | All features, Updates, No watermark, Tech support |
| Individual Lifetime Plan | $69.99/one-time fee | Annual plan+Unlimited downloads from filmstocks, New effects every month |
| Annual Bundle Plan | $104.87/year | Annual plan+Unlimited downloads from filmstocks, New effects every month |
| Basic Business Plan | $12.99/month/annual billing | Annual plan+Permission for company use, Access to filmstocks free library, No attribution required, Multi-User control,Volume discount |
| Standard Business Plan | $24.99/month/annual billing | Basic business plan+1-1 Sales support, Flexible payment options |
| Premium Business Plan | $57.99/month/annual billing | Basic business plan+1-1 Sales support, Flexible payment options |
| Student Plan | $7.99/month | All features, All updates, No Filmora watermark, Tech support |
| Educator Plan | Ask for seller | According to the pricing plan |
3. Is Wondershare Filmora worth it?
Overall, Wondershare Filmora is a cost-effective video editing software with lots of wonderful features and it can work on both Mac and Windows. So, if you can accept the price and like its features, it is definitely worth a try.
4. Does Filmora have a watermark?
The watermark only exists in the free trial version. If you want to remove it, you have to pay for the other versions.
5. Is Wondershare Filmora legit?
Yes, it’s legit. Anyway, Wondershare is a legit company distributing its products worldwide through its members. It has existed for more than 10 years which is longer than many software companies today.
Wondershare Filmora Alternatives
If you still are not satisfied with Wondershare Filmora whether its interface or functions then here are 7 alternatives that will allow you to make a good video.
1. iMovie
If you use Mac, iMovie, an Apple’s built-in video editing app, is your guy. It allows users to input videos from various sources including DVD encoded files, digital video cameras, and even images. In addition, it also offers an option to add animated titles, color filters, special effects to your video like green screen. Its simplicity appeals most of novice. But for most advanced users, they just find it hard to meet their editing demands.
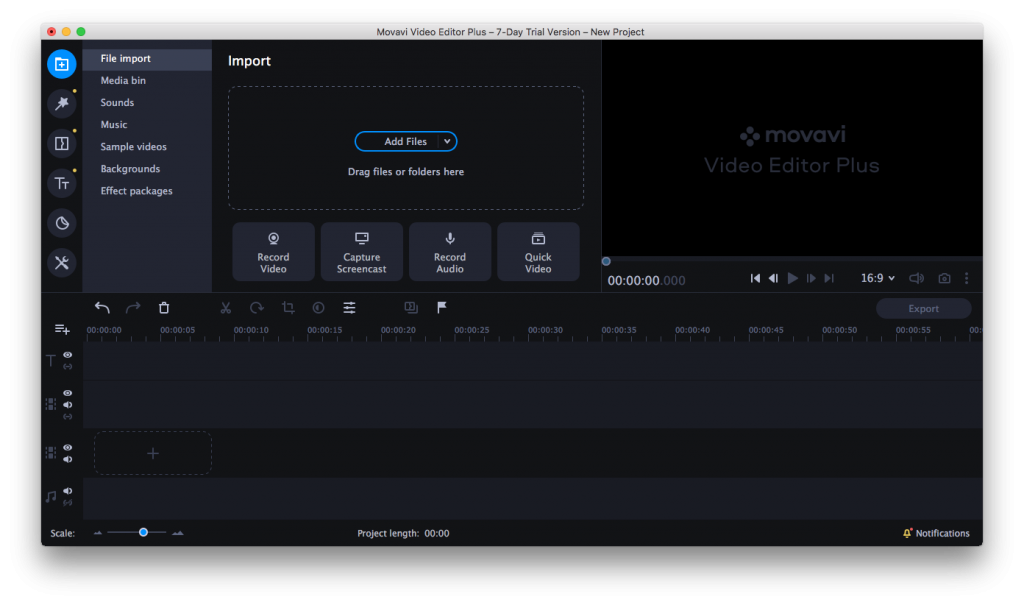
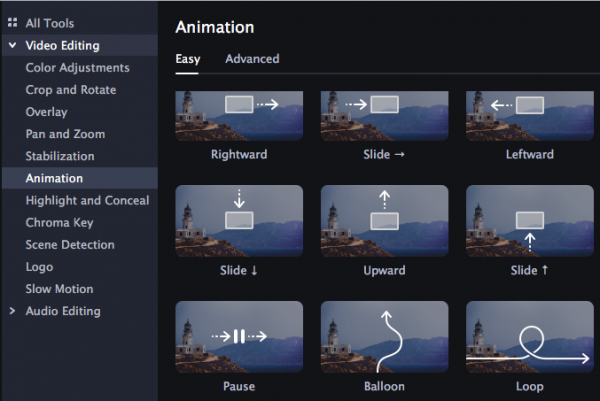
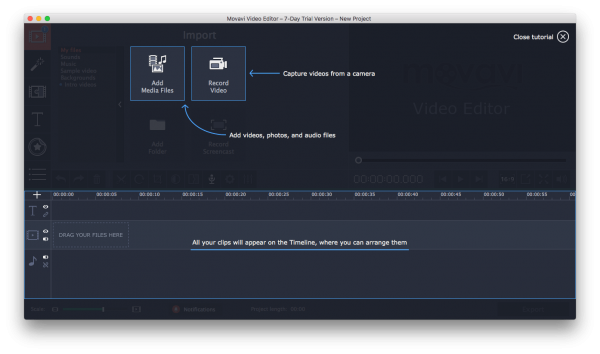
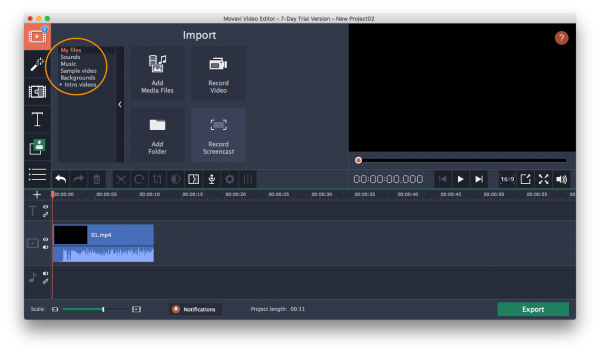
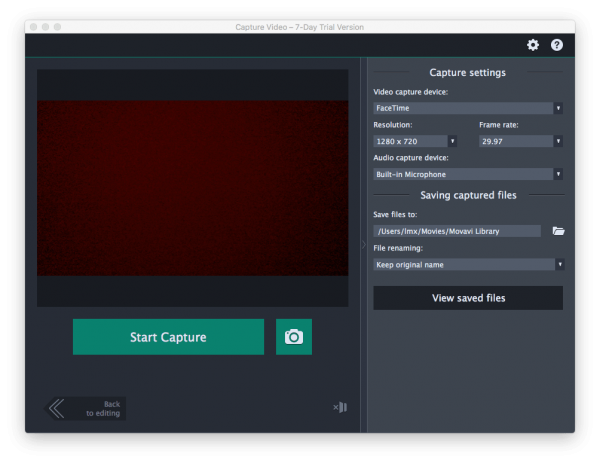
2. Movavi Video Editor Plus

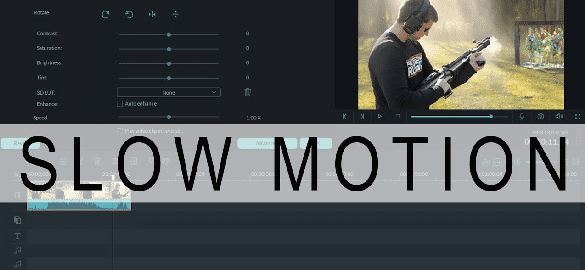
If you are a totally beginner, Movavi Video Editor Plus should be a good choice for you. With a really intuitive interface, you can easily get the function you need at a glance. Otherwise, ease-to-use does not mean non-professional, besides the basic editing skills (e.g. trim, merge, rotate, chroma key, slow motion, etc.), it also provides a variety of built-in visual effects (e.g. filters, titles and transitions) to rich your video.
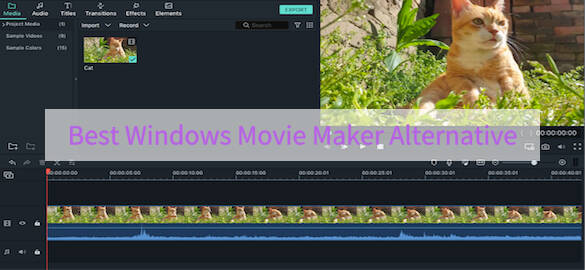
3. Windows Movie Maker

Windows Movie Maker is a similar program to Filmora. It has excellent features, such as timeline narration, transition overlays, animations, and extensive audio options. Unfortunately, it’s no longer available to download now since Microsoft discontinued to update this software in 2017.
4. Davinci Resolve
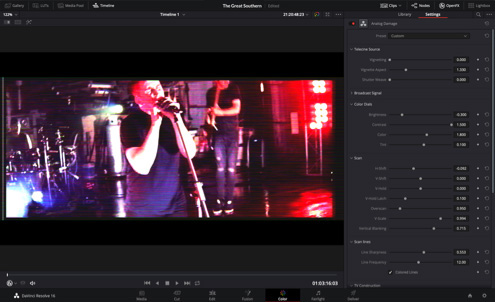
DaVinci Resolve 16 is the world’s only solution that combines professional 8K editing, color correction, visual effects and audio post production all in one software tool. It designed specifically for editors who works on high end fast turnaround work such as television commercials, news cutting. Furthermore, it has version for Mac, Windows and Linux.
5. HitFilm Express
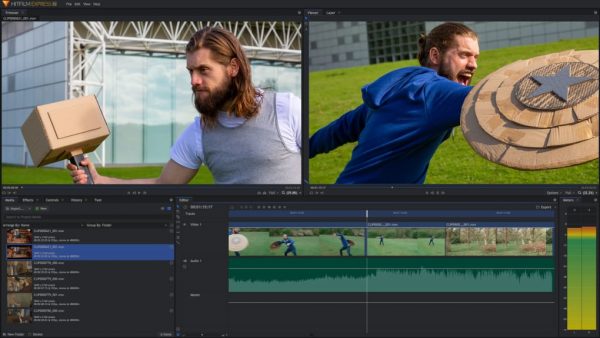
Available for both Mac and Windows, HitFilm Express is a free video editing software combine editing and VFX (Visual Effects). It comes with over 140 inbuilt effects, transitions and presets. If you are a special effects amateur, then HitFilm Express is just the thing for you.
6. Lightworks
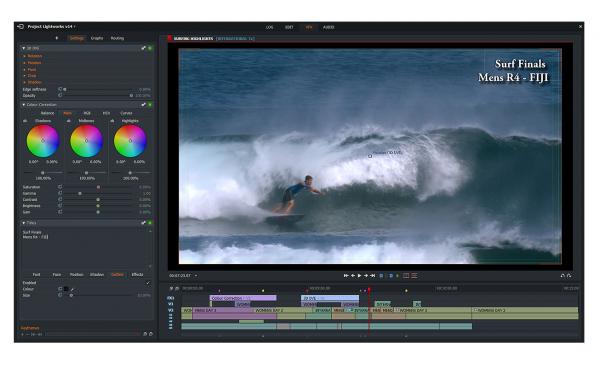
Lightworks has been in the field of film editing for over 25 years. Lightworks makes it all possible to make video for social media, YouTube or for a 4K film project. It is integrated with advanced tools like drag and drop, timeline editing, trimming, audio & video FX (special effect). With a quite intuitive interface, users have no issues importing images, audio or other clips to a video project and export also goes smoothly.
7. PowerDirector
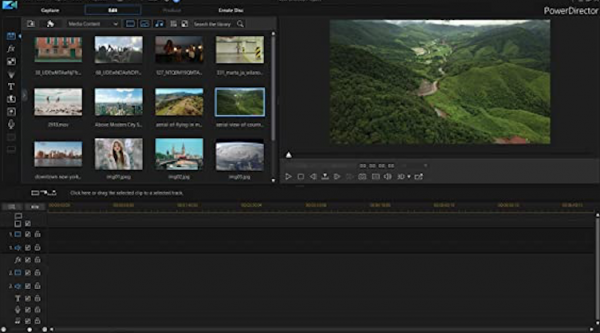
PowerDirector is the fastest and most full-featured consumer-level video editing software. However, the quality is not so good as other competitors and it doesn’t offer many of the advanced video editing features its competitors do. If you prefer to save time while creating a project, you’re exactly the kind of person that PowerDirector was designed for. But if you go for high-quality videos, you’d better consider other competitors such as Wondershare Filmora.
Final Verdict
I hope this Wondershare Filmora review will help you make the right decision. So far, I am impressed with Filmora’s powerful features and intuitive interface. More importantly, Filmora has updated constantly to keep with users demands.
Related Post

How to Convert AZW3 to PDF and Remove DRM (Free Online Included)
With the easy availability of eBooks on the websites today, we prefer to view books on Kindle device. While with [...]

Calibre DRM Removal: Tutorial and Alternative
Calibre is known as a powerful and easy to use e-book manager. You can use it to edit books’ metadata, [...]
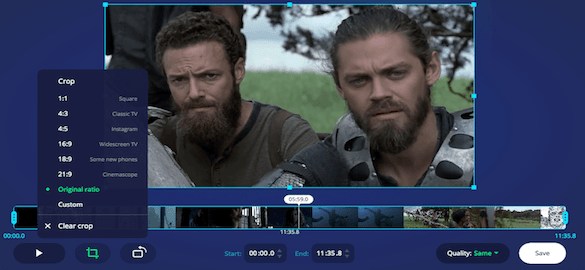
8 Best Video Cropping Software for 2020 (Free, No Watermark)
Before uploading a personal video to YouTube or other social platforms, we want to crop it to make sure there [...]